
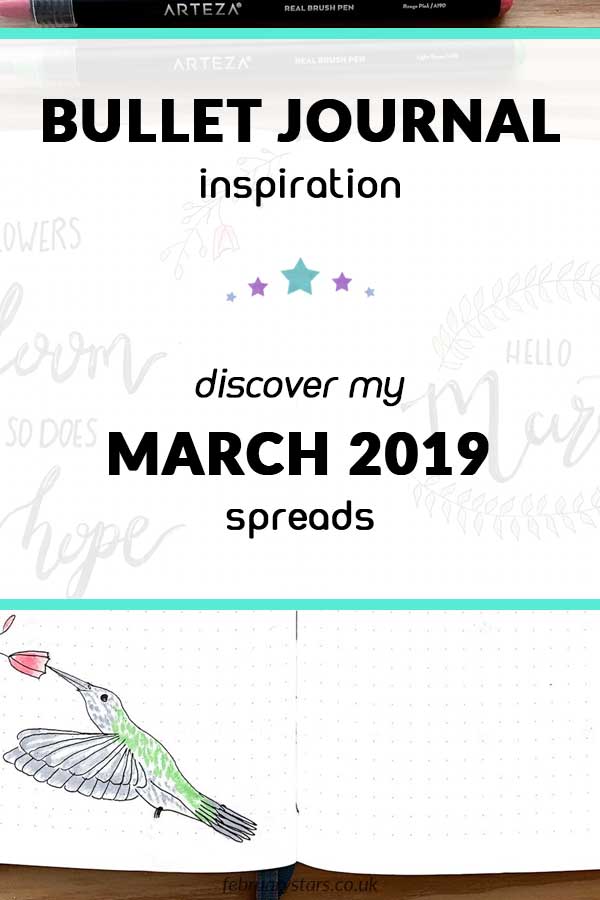

We are approaching the end of February, which means it’s time to set up a new month in my bullet journal. Keep reading to plan my March bullet journal setup with me.
I hope it helps to give you some inspiration to use in your own bullet journal.
Bullet Journalling Supplies Used:
- Leuchtturm A5 dotted notebook
- Arteza watercolour real brush pens
- Tombow Fudenosuke brush pen (hard)
- Pigma micron fine line pen (No. 02)
- Pentel mechanical pencil
- Eraser
MaRCH bULLET jOURNAL SETUP

This month, I was inspired by a painting I shared on Instagram of a hummingbird. I decided to include hummingbirds in this month’s bullet journal theme but also wanted to keep things simple and clean-looking.
Last month was full of drop-shadows, for example, but I opted for keeping more white space in my March spreads.
March cOVER sPREAD
For my March bullet journal cover page, I created a double-page spread.
On the left, is a quote page. I opted for the quote, “where flowers bloom so does hope” and included a cute hummingbird and some pink floral doodles at the top and bottom.
Given I’ve been a little up and down with my health recently, I thought this was a nice quote to include.
I first drew the illustrations in pencil using my Pentel mechanical pencil and once I was happy with them, I went over them using a No.02 Pigma micron fine line pen and erased the pencil lines.
Colour Scheme
I kept the colour scheme to four colours throughout this month’s spreads; pink, green, black and grey.
I used my Arteza watercolour real brush pens in light green, rouge pink, bubblegum pink, ice blue (which is more like a grey) and dolphin gray.
Drawing The HUmmingBird
For the hummingbird, I first coloured the entire bird using the ice blue brush pen. I then used the dolphin gray to darken the tail, underbelly, head and the edge of the feathers on its wings.
Next, I dotted the light green over its back to create the illusion of green feathers. As a final step, I used the micron fine liner pen to draw the bird’s eye.
I used this technique when drawing all of the hummingbirds you’ll see, opting for pink feathers instead of green for some of them.
Title Page
I titled the opposite page with the month and then framed the lettering with some leave doodles.
I’m really happy with how the cover page turned out.
I invested in a Tombow Fudenosuke brush pen and used it to create the lettering. I then added small highlights using a gelly roll pen.
I do think I need to practise a lot more with using a brush pen because I find it more challenging to use than a calligraphy pen. However, I think this is not too bad for a first-time effort!
March Monthly Spread

I opted for another full calendar spread for March. I did this for the first time last month and I much prefer it to a list view.
The boxes of the calendar are 6×6 and I drew the calendar using a No.02 Pigma micron fine line pen.
I titled the days of the week using the Fudenosuke brush pen but used the fine liner for the dates. I then highlighted these using my light green Arteza brush pen.
At the top left, there was white space so I filled this with the name of the month and floral doodles.
At the top of the right-hand page, I created a space to list my monthly goals. I then added a hummingbird and leaves on this page.
March Bullet Journal Habit TRackers

In the next spread, I created my habit trackers. Last month, I started using a steps tracker to help bring my awareness towards how I was pacing myself.
I really enjoyed having this visual and decided to include it again this month. It’s simply a bar chart with the dates on the x-axis and number of steps on the y-axis. For my scale, one box equals 1k steps.
On the right-hand page is my habit tracker. I had been using individual habit trackers (which you can see in this post).
However, this month I opted to go back to charting them all together. I list the days and dates of the week along the top of the page and write the habits down the lefthand side.
Whenever I complete a habit, I will fill in the corresponding square on the chart.
At the bottom of this page, I drew another hummingbird and floral doodle.
Gratitude & Blog Tracking

This month, I have decided to include a page for daily gratitude. Each day, I will write one line.
I decided to define each line by colouring them in, alternating between the pink and green brush pens.
I don’t think I’ll do this again though. The Arteza brush pens have a soft brush tip and I was just far too messy with them!
On the righthand page, I have a spread for keeping track of blogging-relating things.
I have given myself an area to write down post ideas. Below this, I have created a table to keep track of any blog-related income and expenses.
As I mentioned last month, I do keep track of my income and expenses properly but I like to note them down in my bullet journal too.
March Weekly Spreads

I always like to keep my weekly spreads quite simple. This month, I split each page into four horizontally to create boxes for the days of the week.
This means I also have a box for writing down weekly tasks and notes. I like to have an area to keep track of my weekly tasks as I don’t plan my weeks rigidly.
Instead, I wait to see how I feel and then decide which tasks I will be able to achieve each day.
I have also split the daily boxes to give me a separate area to write down the daily tasks I decide on.
I used a Pigma micron pen and then went over the horizontal lines using the green Arteza brush pen and the vertical lines with the rouge pink one.
As final details, I added a little hummingbird in the bottom right-hand corner and some doodles of flower buds and leaves.
March Highlights Page

As a final page for my March bullet journal, I have a highlights page. This is a page that I title but leave blank so that I can record my memories from the month.
I framed the page title with doodles of leaves and that’s it!
It’s incredibly simplistic but always turns out to be my favourite page each month.
Share on Pinterest:

So, there you have it! That’s my March 2019 bullet journal set up.
I hope you’ve enjoyed this post and found some inspiration for your own bullet journal spreads.

Wow this is awesome and such a fun, creative way to be organized. You are very talented. 🙂
Thank you Carly. It’s a really great creative outlet and I find bullet journaling so useful 🙂
So artistic! Wish I had the patience to create such lovely spreads…I’m lazy and employ the aid of stickers and tape ;p
Thank you Sheryl. It’s really just been a recent thing putting my creativity into it. My last bullet journal was created with a ruler and ballpoint pen only 😅